Here’s a simple tutorial to edit your boring low resolution picture into something creative.
1. Open the image.
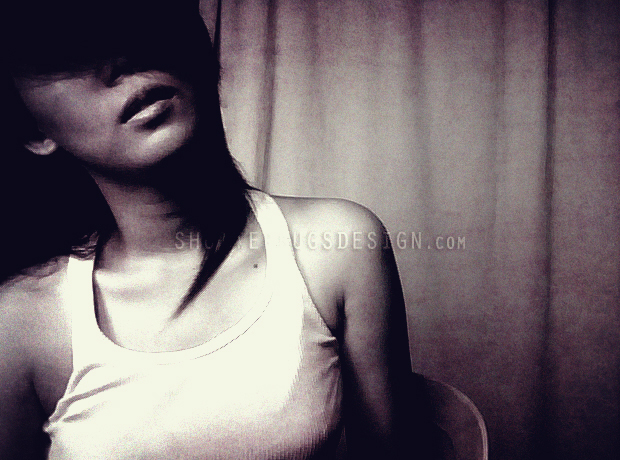
(I will be using this picture I took using my webcam in black and white)

2. We’ll start by adding the vintage effect.
Create new Solid Color fill layer with the value of #000033

3. Change the blending mode to Exclusion and adjust the opacity to 50%.

Your image should look like this:

4. Add noise to give it a more vintage and grunge look. Go to Filter > Noise > Add Noise…

5. Now for the fun part…TEXTURE! This can really change the look and feel of your image once you start adding it to the layers. You can find a lot of them free to download and use at stock.xchng or deviantart.
For this tutorial I will use Virus Grunge by Wheel of Fish:

6. Paste the texture and change the blending mode to Soft Light

Your image should look like this:

7. De-saturate the texture a little bit (I adjusted it to -25)
8. Adjust the Levels or Brightness/Contrast depending on your photo.
9.Flatten all the layers and you’re done! =)
Comments
One response to “Grunge Vintage Effect Photoshop Tutorial”
Wow cool content! Amazing tutorial dude. It�s insane just how many breathtaking tutorials you guys post. Absolutely love your work. Many thanks!